Terminal Basics
- AUTHORWill Osbourne
- PUBLISHED2022-04-29
Terminal Basics
Originally written to accompany a Lunch & Learn talk given for Seven Hills Technology.
What is the Terminal
The terminal is essentially your computer, without a graphical interface on top of it. You can run commands, start programs, view/copy/edit files, and more – all from one place!
Terminals are also often called a CLI (Command Line Interface), which contrasts with a GUI (Graphical User Interface).
You have a lot of options for what terminal you use, listed are a few you may use or already be familiar with:
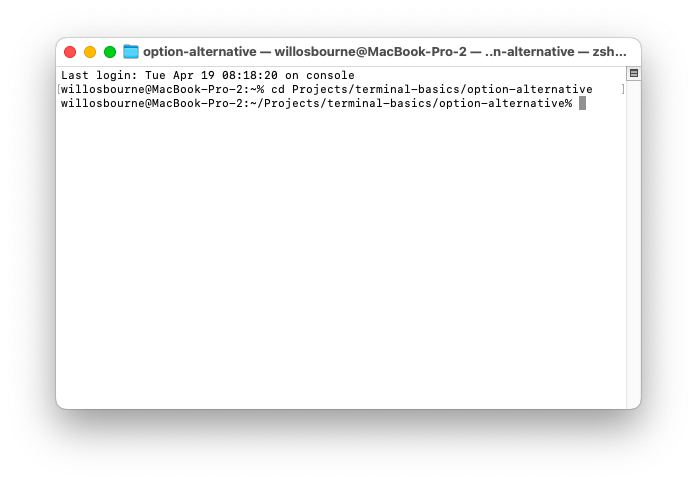
Terminal.app
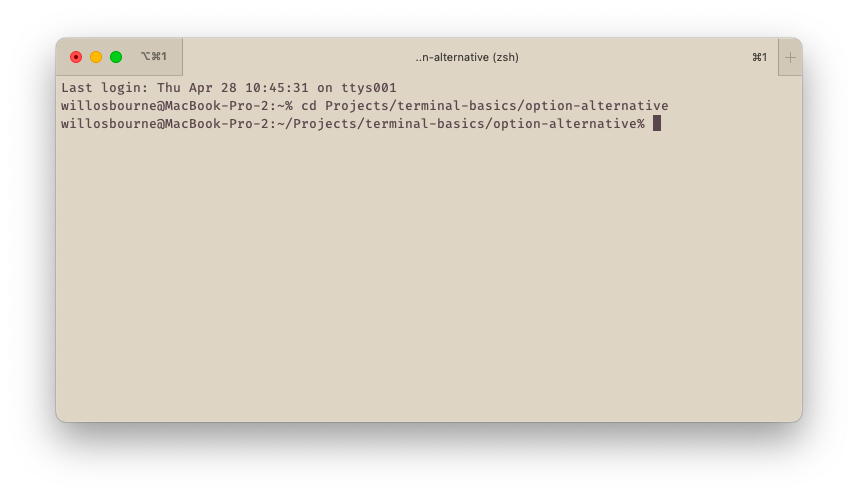
iTerm2
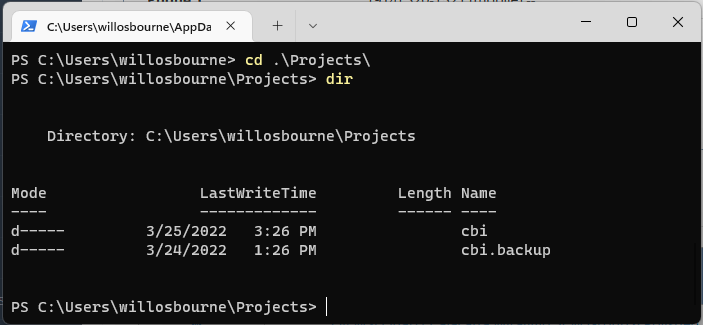
Windows PowerShell
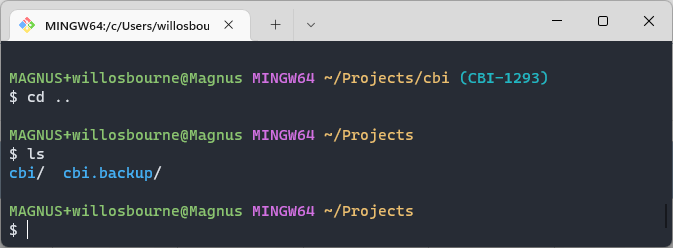
gitBash for Windows
Warp
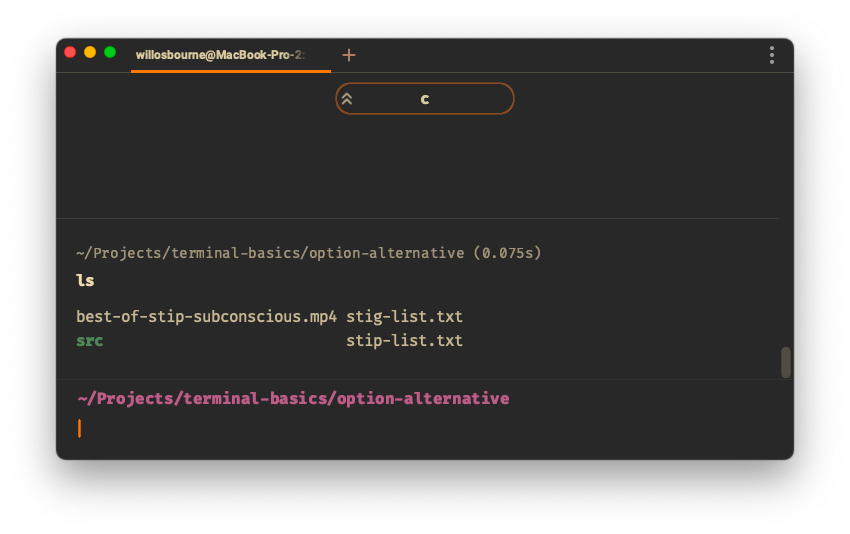
For the rest of this tutorial, you’ll be seeing Warp in examples. It’s still in active development & only available for MacOS right now, but it’s a modern take on a terminal, including a more intuitive text input field, clear blocking of commands, and a command pallet similar to in VSCode.
A Note for Windows Users
This tutorial is done on MacOS with a zsh shell. Most (if not all) of it should be
compatible a bash shell which you can get on Windows using
Windows Subsystem for Linux
(recommended if using a Windows laptop) or
Git BASH for Windows (recommended for Windows run
through a Virtual Machine). For anyone using a bash shell, the only differences
should be when you see a file similar to .zshrc in the tutorial, you will look for
a .bashrc file. This should also be called out where relevant.
Powershell and cmd.exe are CLIs designed for Windows and unless you want to convert
every guide you see online from bash to powershell, I recommend installing a bash
(or similar alternative) shell.
CLI vs GUI
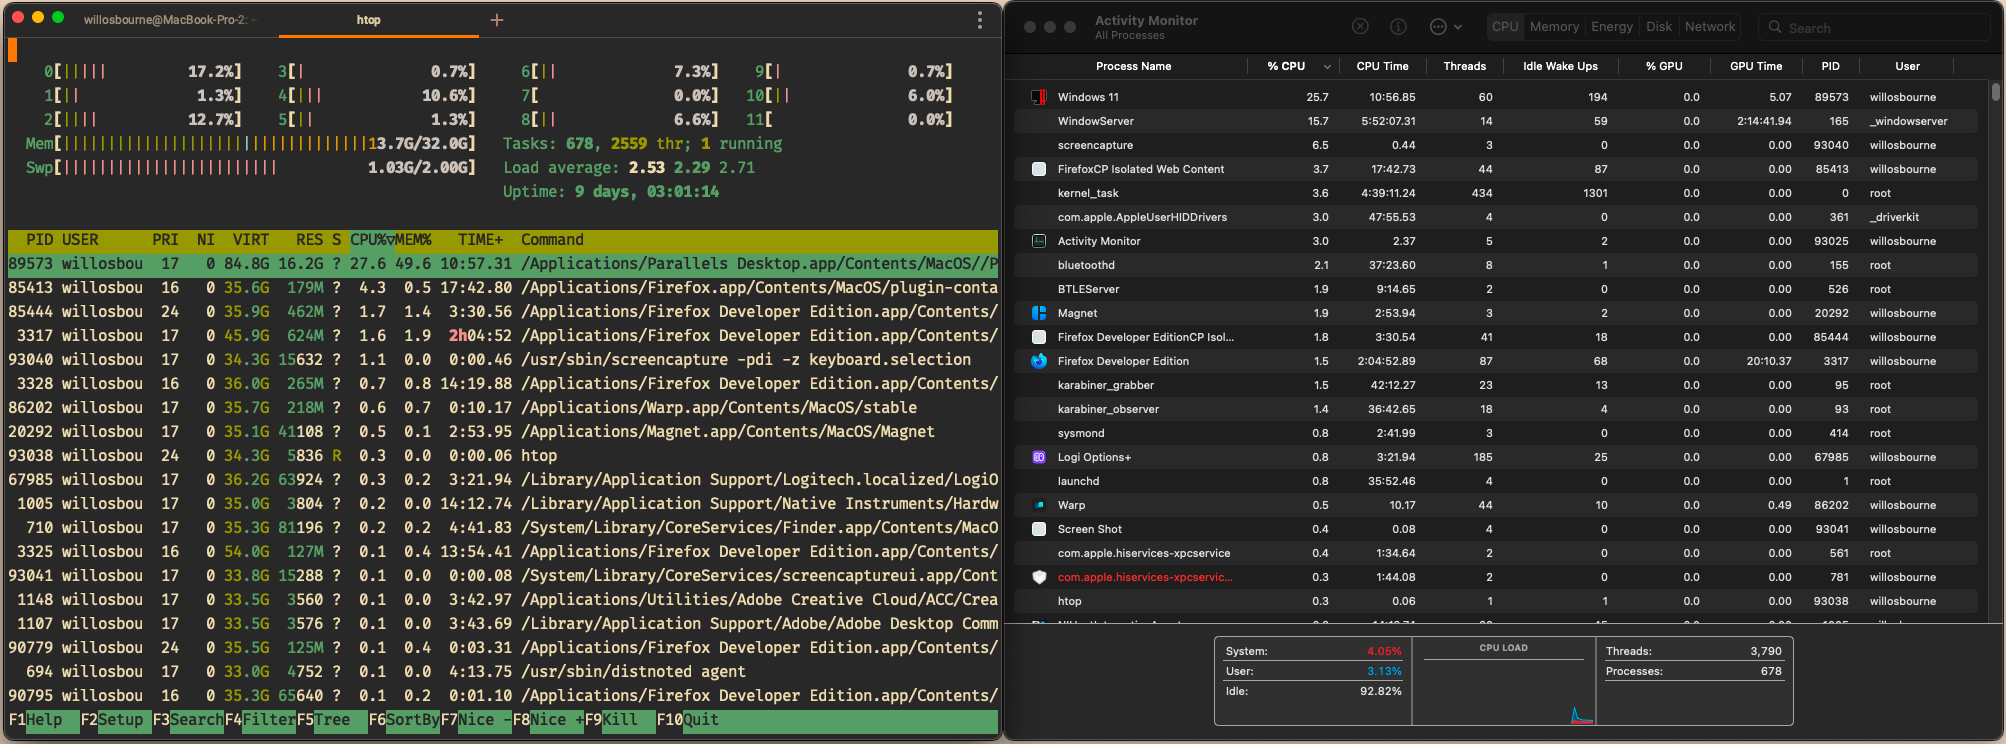
The CLI and GUI are just two different representations of what’s happening on your computer. For comparison, below is the terminal & file explorer showing the contents of the same folder.

The terminal is more than just a text based file explorer, there’s also full programs that run on the command line. Pictured below on the left is the command htop, which is similar to Mac’s Activity Monitor (or Windows’ Task Manager) to view & manage active running processes.
The Importance of Learning How to Use a Terminal
Whether you work front-end, back-end, mobile, or a mix, you will want to be comfortable in a terminal for everything from managing packages, working with git, and running your applications. You don’t have to be a complete wizard, but understanding how to do your basic commands (and quickly) is an invaluable part of being an efficient developer.
Navigation
Learning to navigate your file system is the first thing you’ll need to do when you open up your terminal, here are some of the basic commands
ls- stands for “list” display your current directory’s contentsls -lah- displays your directory’s contents in Long form (-l) to display things like ownership info, file size, and more, includes All (-a) your files, including hidden files & directories, the current & above directories, and the-hflag makes the files sizes more human-readable by including the unit suffix (ie Byte, Kilobyte, Megabyte, etc).- is your current directory..- is the directory containing or above your current directory
cd- stands for “change directory” changes your directory to the path you specifycd ..- changes your directory to one directory above your current
mkdir- stands for “make directory” creates a directory with the title of your inputrm- stands for “remove” deletes a filerm -rf- recursively & forcibly remove a directory and all its contents- Note:
rmdoes not move a file to your trash, it deletes the file then & there. Be careful because if you rm something it is unrecoverable - Consider installing
trash(MacOS, Linux) to have a command to move a file to the trash rather than instantly deleting it
touch- “touches” a file or directory. If the file does not exist, it will create it (helpful for creating files quickly, ietouch README.md)
Command Usage
We’ve already gone over a few commands, and even some flags to modify them, but it’s good to understand the basic structure of a command. Lets breakdown the following command
mkdir -p src/colors/leisure
The first thing we’ve typed is mkdir, which is the command we’re executing. Next,
-p is a flag modifying the command. In this example -p tells the mkdir command
to create any directories between our current location required to reach the path
we specified (ie, src exists, colors and leisure do not, so it will create the
directory colors, then within that create the directory leisure). Finally, we
have the parameter we’re passing to the command src/colors/leisure. The command
needs to know the name / path of the directory its creating.
Each command will function a bit different, require different parameters, and have
different flags to alter them. Thankfully (virtually) every command comes with either
a man page (short for “manual”) or a --help / -h flag to tell you everything
you need to know about the command. Most baked-in bash commands like mkdir will
have a man page, but installed packages like yarn will not have a man page and
instead need to be passed the flag -h to view the help page.
Try the following
man mkdir,mkdir -h,man yarn,yarn -hto see examples of manual & help pages both working and not working (if you don’t haveyarntry some other commands you may have installed to see if they have a manual or help page –npmhas both!)
Common Tasks
As a developer, there’s any number of common tasks that you can or will do in the CLI.
Anyone working with React, Angular, Node or any other number of JS libraries will be
familiar with npm or yarn as a package manager for managing dependencies. You’ve
probably also started a server with npm start or dotnet run. Understanding how
these commands are structured and being able to use the man or --help pages will
let you troubleshoot things easier & faster than having to search each thing.
Reading man pages will also show you things you may not have known you’ve needed
(such as ls -R 👀). If there are commands you use often in your day-to-day work,
check out what all it can do.
Viewing & Editing Files
Viewing and editing files can be done quickly from the command line without having to
open them up in an IDE like VSCode. If you just want to view a file, you can try out
the cat or less commands. cat is an interesting one, because it’s actually short
for “concatenate” and can be used to join together two files, outputs, etc. and pass
them along to something else, however if you just cat a file to nothing, it will
concatenate it to the output of the terminal, effectively printing the file contents.
If you have a larger file however, this can be a bit clunky. This is where the command
less comes in, as opening a file by going less names.txt opens it in an application
where you are able to scroll back & forth with j and k (or arrow keys) and do
helpful things like search for a word or pattern by hitting /.
Fun Fact: The command
lessderives its name from an earlier command calledmore, which offered similar features, butlessexpanded upon them & made it more performant for larger files.So sometimes
lessismore.
But what if you want to quickly edit a file, or have to amend a commit in git? Well now you’ll need a Text Editor, but don’t worry, you still don’t have to leave the CLI! There are plenty of options, from Vim to Emacs to Nano. Vim is the default for most shells, so it’s good to understand some basics of it, however Nano is significantly more user-friendly, so we’ll go over the basics of that & how to set it as your main text editor.
Vim
<Esc> : q ! <Enter>All you need to know.
Vim is my preferred CLI editor, but it has a reputation of being obtuse. Unless you want to learn it, I’d recommend understanding the following concepts, then setting your default editor to Nano.
- There are different “modes” to be in. You start in “command mode” and hitting
Escwill get you back to it. - To quit vim, hit
Escto enter command mode, hit:begin entering a command (look at the bottom of the window), and enter the command you would like to do::wqwrite (save) the file and quit vim:qquit vim if no changes have been made:q!quit vim and discard all changes – this is the “get me the hell out of vim” command:wq!attempt to save change, but quit regardless of if save is successful
- If you don’t want to quit vim, from the command mode, you can hit i to enter “insert mode”. From here you can write what you need, navigating with arrow keys if needed, then hit
Escto return to command mode. - To navigate the text in command mode, you can move the cursor using
hjklwhich correspond to the directions ⬅️⬇️⬆️➡️
Nano
You can try out Nano by opening any text file with nano file.txt to get a feel for
it, but its very beginner-friendly for two main reasons
- By default, your keyboard functions as normal, if you hit
hanhis typed to the page where your cursor is. - The commands you need to save
^Oand quit^Xare listed right at the bottom (the^character denotes thectrlbutton)

To set nano as your default editor, just type the following into your console:
For zsh (MacOS)
echo 'export EDITOR=nano' >> ~/.zshrc
echo 'export VISUAL="$EDITOR"' >> ~/.zshrc
For bash (Linux)
echo 'export EDITOR=nano' >> ~/.bash_profile
echo 'export VISUAL="$EDITOR"' >> ~/.bash_profile
Tips & Tricks
Chaining Commands
Two powerful CLI operators are the && (ampersands) and | (pipe) operators. The
&& operator tells the console “Do this command, then do this command.” That can
make simple things like installing all node packages & starting the development server
as easy as npm install && npm run dev, in one command. The | operator will take
the output of your previous command and pipe or pass it to the next command.
For example if you have a JSON file you’d like to see in the console, and the jq
command installed, you can run cat example.json | jq to have it be printed to the
console in a formatted & highlighted fashion, regardless of if example.json is
formatted or a single line.
Aliases
Aliases are an absolutely key part of a terminal not enough people take advantage of. An alias lets you set a shortcut for commands you use frequently. Commonly repeated tasks like a git commit or starting a node server with a set of flags can be streamlined to a few characters with an alias.
They can be set in the ~/.zshrc or ~/.bashrc file, and follow the following syntax:
alias gcm="git commit -m"
Note: at the end of the article, I will include a list of aliases & other configurations that may be a useful place to start, but I always found that adding aliases just when I need them helps me use / remember them more.
Tabs & Tiles
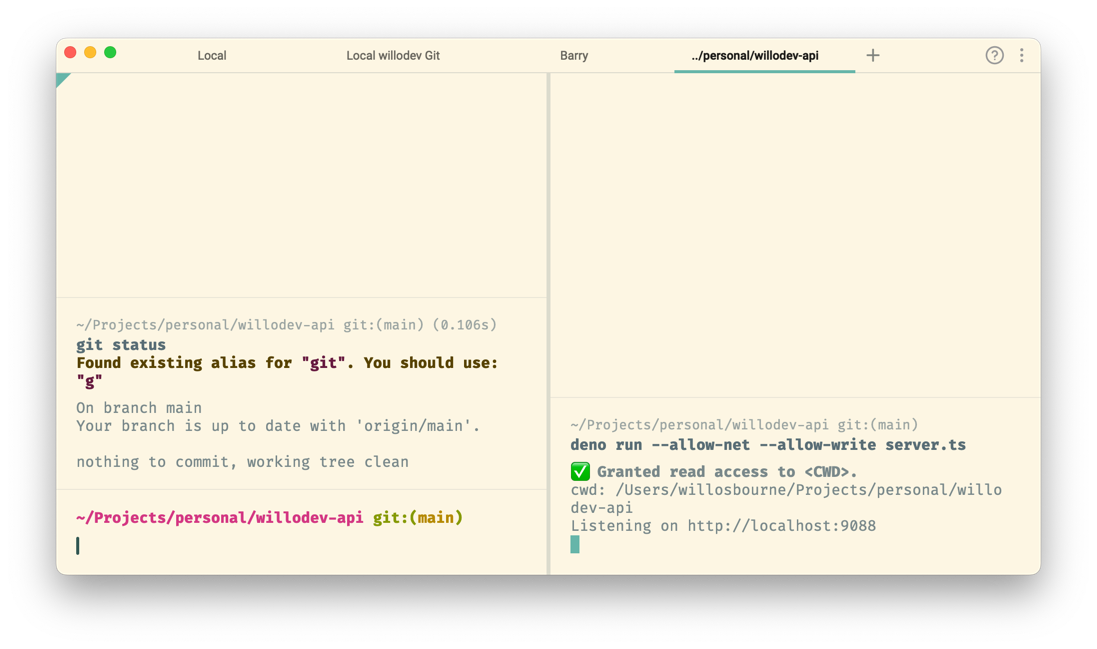
Most modern terminal applications have support for multiple tabs or tiling the window. Taking advantage of this, as well as renaming tabs where relevant, can help your terminal experience be more organized and easier to manage.
As an example, a common use case could be running a pane to handle git changes, while having another pane for leaving the server running and monitoring logs.
Conclusion
The terminal can be powerful and useful, if you’re willing to spend a bit of time to learn it & get comfortable with it.
Terminal Suggestions
Quick cheat sheet of things I’d recommend
Good Terminals
Helpful Terminal Commands / Plugins
- Trash-CLI - lets you use
trashinstead ofrmto remove files / folders in a non-permenant fashion - z - a frecent (frequent + recent) search to let you jump between directories quicker
- you-should-use - a zsh plug in that will tell you if you used a full command when you have an alias existing for it

Aliases & Functions
As a reminder, these go in your ~/.zshrc or ~/.bashrc
Personal Faves
# Git Aliases
alias gco="git checkout"
alias gd="git diff"
alias gds="git diff --staged"
alias gl="git log --all --graph --format=\"%C(yellow)%h %C(green)[%ai|%an]%C(reset)%C(auto)%d %s\""
alias gp="git push"
alias gpl="git pull;"
alias gst="git status;"
alias gcm="git commit -m"
alias gmne="git commit --amend --no-edit"
alias gpuo="git push -u origin"
alias gcob="git checkout -b"
alias gcol="git checkout -"
alias gap="c; git status; git add --patch"

# Git functions
gdh() {
  git diff HEAD~"$1" HEAD
}

# other
alias c="clear;"
alias ll="ls -lah"
alias uuid="uuidgen | pbcopy"
alias doco="docker compose"
alias dl="docker compose logs -f --tail=0"
alias drl="docker compose restart; docker-compose logs -f --tail=0"
alias dul="docker compose up -d; docker-compose logs -f --tail=0"

# shows what process is running on a port
portlook() {
  netstat -vanp tcp | grep -E 'Proto|'$1
}

# open bash terminal of a docker container
dterm() {
  docker exec -it "$1" /bin/bash
}